You’re watching a movie with popcorn in your hand. All of a sudden, your speakers start to act up. They buzz or snap, or even worse, they stop making noise. Doesn’t it seem frustrating? Or maybe you’re working on some songs in your home studio and the sound from the speakers is justoff.
How To Check Speaker With a Multimeter? This is something we are going to do together. I’m talking about learning how to use a multimeter to check speakers.
At audiosk, you can find step-by-step directions on how to use this useful tool to fix your speakers in this guide. We’re all in this together, whether we’re saving your movie night, making your music setup sound better, or just letting you know how audio gear works.
Getting Ready for Speaker Testing
Let’s lay the perfect foundation for our test. It’s all about picking the best tools for the job and creating a safe spot for our little project.
Why Speaker Testing?
Before we start with our multimeter, let’s see why testing speakers is key.
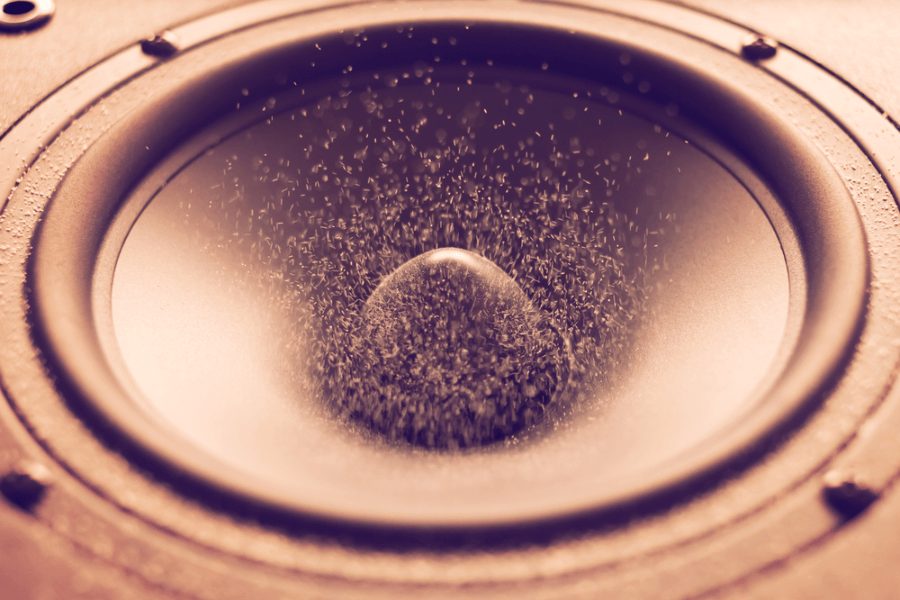
Speakers make our music, movies, and games come alive. Like any heart, they need to be in great shape!
Sometimes speakers don’t sound right. We need to find out why. That’s our detective job.
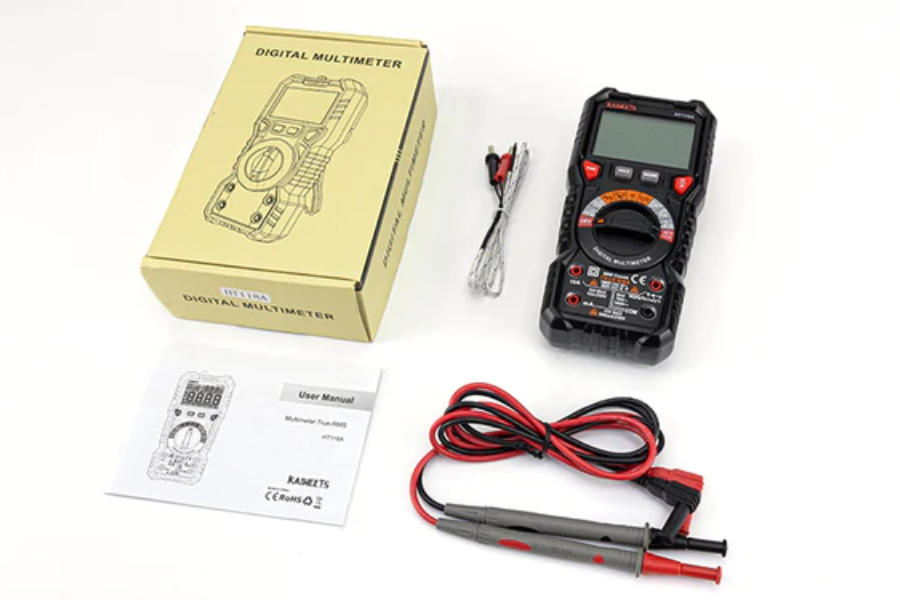
Choosing Our Multimeter: Digital or Analog?
Going Digital with Digital Multimeters (DMMs): Do you think these new gadgets are pretty cool? They are easy to use, give us accurate information, and are full of useful features. A DMM is our best friend when we need to take precise readings like inductance and resistance. But keep in mind that they might not be the best way to see how speakers work with real sounds.
Old-School Vibes with Analog Multimeters: These look very old-fashioned. They’re great for seeing how speakers react to music in real time because the needle moves. An analogue metre could be our best friend if we want to learn more about how dynamic speakers work.
Setting Up a Secure Testing Zone
Power Off, Safety On: Let’s make sure that everything is turned off before we connect the voltmeter to the speaker. This includes the amps, speakers, and everything else. Safety is the most important thing to us.
Multimeter Checkup: Let’s quickly check the health of our voltmeter. Our results could be messed up by a weak battery or bad lines.
Know Your Speaker: We may make sense of the readings from our multimeter by educating ourselves with the speaker’s capabilities, such as its typical impedance and power restrictions.
Tidy Space, Tidy Mind: Clutter is a no-go. I propose we remove all stray items from our living area. Fewer distractions and accidents occur in a clean work environment.
How To Check Speaker With a Multimeter?
When troubleshooting a speaker system, checking the speaker output with a multimeter is quick and easy.
Comprehensive Impedance and Resistance Test
This step is super important because it’s like giving your speaker a quick health check. By looking at the impedance and resistance readings, we can tell almost immediately if everything’s electrically sound or if there are any sneaky open or short circuits hiding.
Think of it as a general check-up that’s perfect for most of us, especially if we’re not multimeter pros. Don’t worry, it’s pretty straightforward, even if you’re new to this. The trickiest part? Interpreting the readings, but we’ll figure it out together.
Here’s Our Step-by-Step Guide:
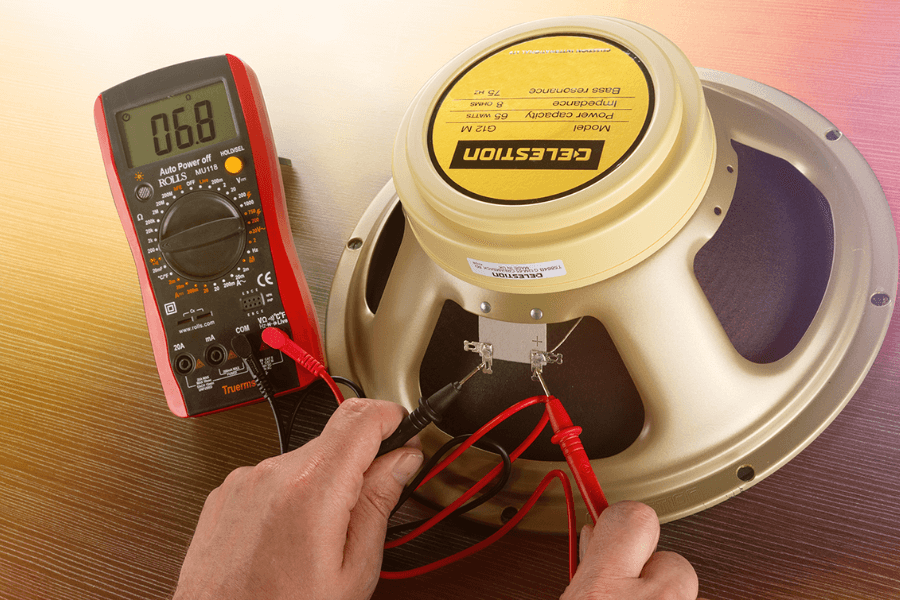
Setting Up Our Multimeter: First, let’s set your multimeter to the Ohms mode. That’s for measuring resistance.
Making the Connections: Now, let’s connect the multimeter probes to the speaker terminals. We’re measuring the DC impedance here. Usually, the numbers we’re looking for are around 4, 8, or 16 ohms, but they might vary a bit.
Checking the Speaker Coil: Next up, let’s measure the resistance of the speaker coil. A speaker in good shape should show us a resistance value somewhere between 0.5 ohms and 10 ohms.
Looking for Short and Open Circuits: Finally, let’s keep an eye out for short circuits (that’s when the reading is super close to 0 ohms) and open circuits (this is when the reading is sky-high, practically infinite).
Dynamic Speaker Functionality Test:
Think of this method as putting your speaker through a real-world audition. It’s like we’re giving it a chance to show off how it handles actual sound, not just numbers on a screen. This way, we might catch any sneaky issues with how it reacts to changing tunes — something those static resistance tests might miss.
Perfect for when your speakers need to dance to the rhythm of various sounds, like in your awesome music system or home theater setup. Using an analogue multimeter is pretty user-friendly, but interpreting the needle’s dance does require a bit of a feel for audio dynamics.
If we’re going high-tech with a digital multimeter or oscilloscope, especially at those KHz signals, it’s a bit more of a technical adventure.
Here’s How We Do It:
Setting Up Our Analogue Multimeter: We’ll start by setting an analogue multimeter to A/C volts. This is going to be fun and hands-on.
Making the Connections: Next, we’ll connect the multimeter parallel to the speaker. Now, let’s play some music and watch the show! The needle’s movement will tell us how the speaker is vibing with the audio.
Going Digital: For the tech-savvy, if we’re using a digital multimeter or an oscilloscope, we’ll input a KHz signal. Let’s not forget to hook up a capacitor in series – it’s crucial for getting those readings spot-on.
Polarity and Phase Check
When you have a stereo or multi-speaker system. Polarity and phase must complement rather than compete to ensure all speakers sing the same song. This produces crisp sound and immersive sound staging we enjoy.
This check is crucial when installing many speakers or adding to your system. If you’ve been fiddling with a speaker, make sure everything fits when you put it back together.
With a simple battery, checking for polarity is pretty easy. But, to get good at phase testing, you need to either have a good ear or know how to use an analyzer.
Here’s How We Can Do It:
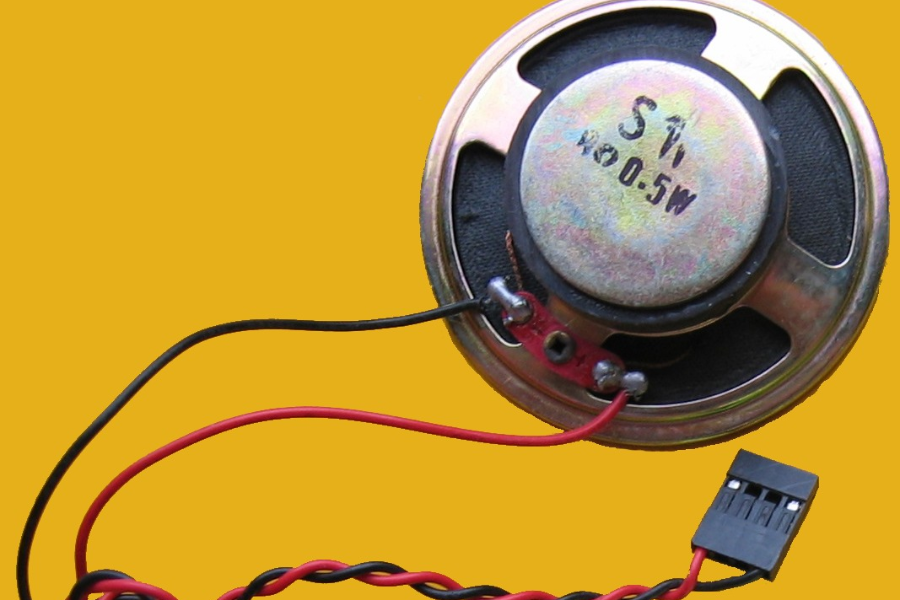
Testing Speaker Polarity: Let’s take a 1.5-volt battery and quickly connect it across the speaker wires. Keep an eye on the woofer cone. If it jumps outward, the speaker connection that is connected to the positive side of the battery is the right one.
Checking Phase in Stereo Systems: We can try two different ways to do this. Let’s play music through two channels and change the phase of one of them. Have you heard any changes in the sound? We can also use an oscilloscope in XY mode to compare the phases visually if we want to get high-tech.
Alternate Phase Test: Putting the same low-frequency sound on both channels is another cool way to do it. Then, we use a voltmeter to check the volts between the positive and negative ends. The numbers will be very low if everything works as it should.
Different Types of Speakers: Our Tailored Testing Approach
Testing speakers with a multimeter isn’t just a one-way street. Each type of speaker, like passive or active, and even the specialized ones like subwoofers and tweeters, needs its own special touch. Let’s explore how you and I can tackle each one effectively.
Testing Passive vs. Active Speakers
Passive Speakers: These are the classic ones without any fancy built-in amps. Our mission here is to check their resistance and impedance. Together, we’ll use our multimeter to make sure their resistance is on point, helping us spot any hidden issues.
Active Speakers: These are the tech-savvy ones with their own power source and amps. Testing them is a bit more complex since we’re dealing with more than just speakers. Let’s focus on testing the speaker part, making sure we don’t fiddle too much with the amplifier bits.
Special Procedures for Subwoofers and Tweeters: Getting Specific
Subwoofers: Known for shaking the room with deep bass, right? For testing subwoofers, we’re not just checking the standard stuff. We need to see how well they handle those low tunes. How about we use a tone generator along with our multimeter to check how they vibe with different frequencies?
Tweeters: These are the high-frequency champs. When we test tweeters, we’re on the lookout for any damage that might mess with those crystal-clear highs. It’s all about making sure they hit those high notes flawlessly, without any distortion.
Each speaker type adds its own flavor to our sound system. By knowing how to test them just right, you and I can make sure every component is playing its part perfectly in our audio ensemble.
Final Thoughts
At audiosk, any audio experience relies on high-quality sound. When they malfunction, though, it may be quite inconvenient. For that reason, familiarity with speaker fundamentals is essential.
Poor sound quality, however, can have several unfavorable effects on the listener. For that reason, you should go for a sound system that can produce crisp, high-quality audio.